happy happy halloween!!!
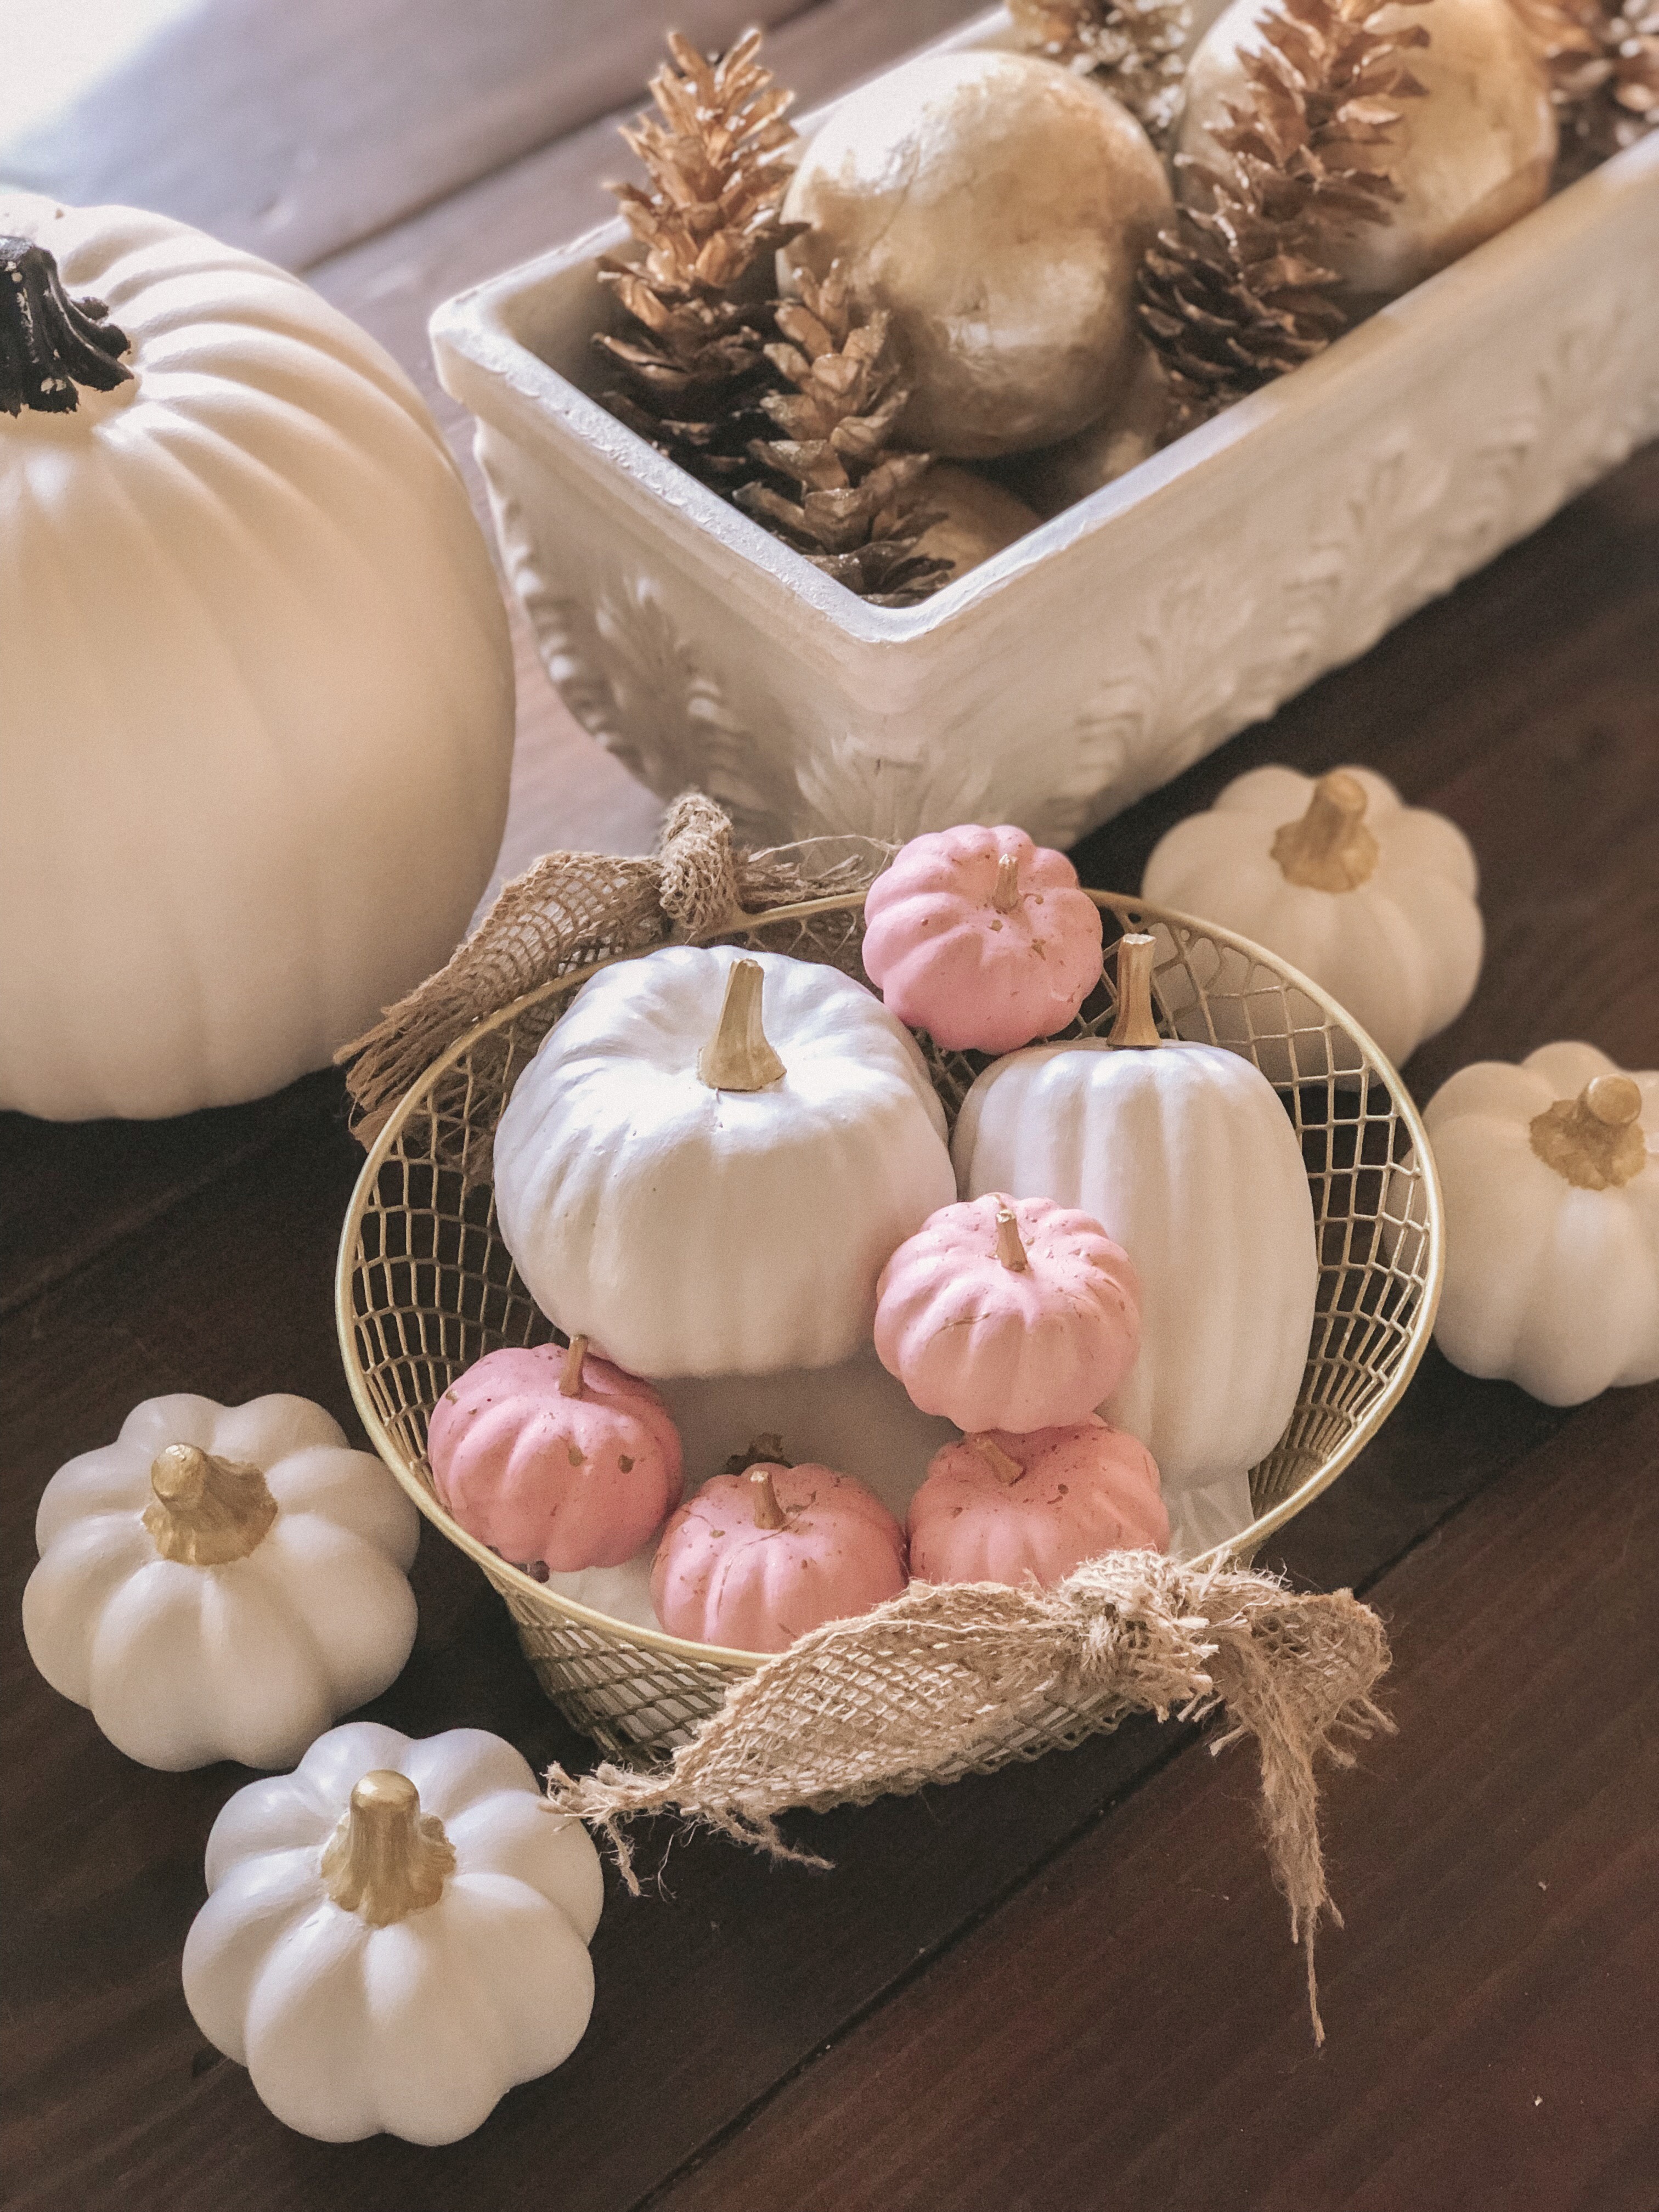
confession: i got so carried away painting fake pumpkins this year, we never even purchased a single live pumpkin!
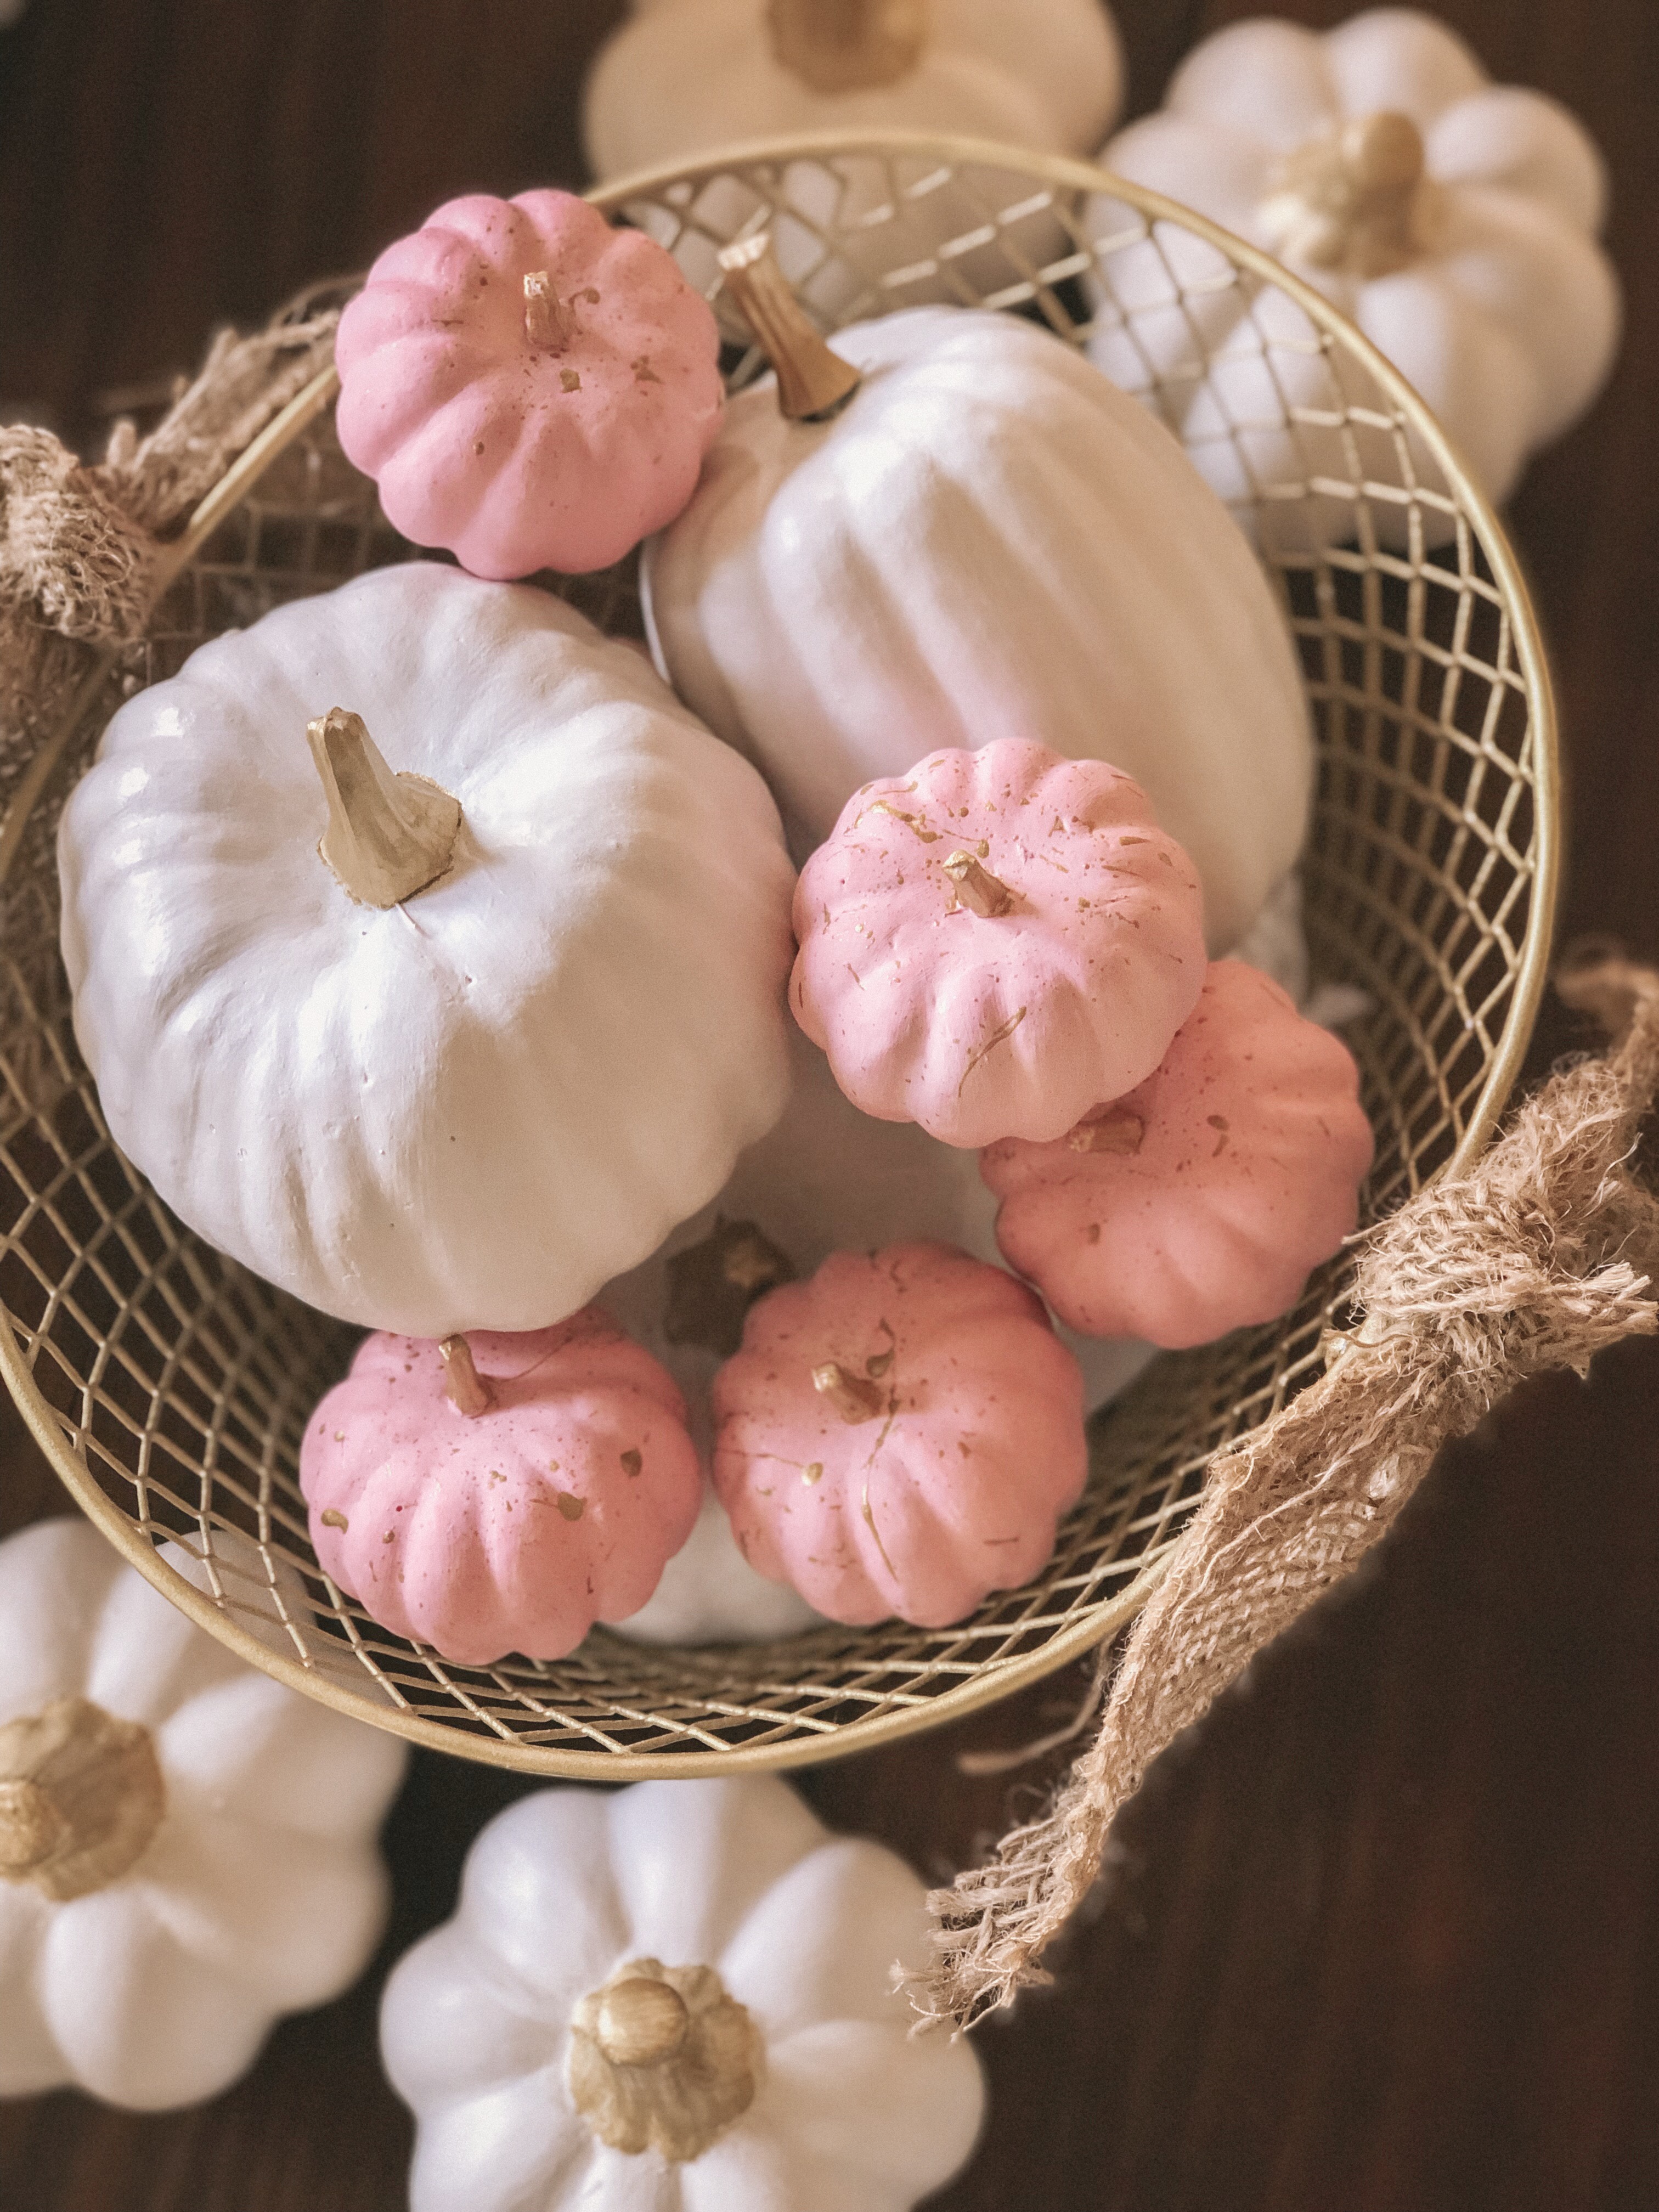
i have no complaints, really. most of these little bitty pumpkins started out a lovely shade of bright, cheapo, plasticy orange! i had so much fun making ugly things non-ugly. 🙂
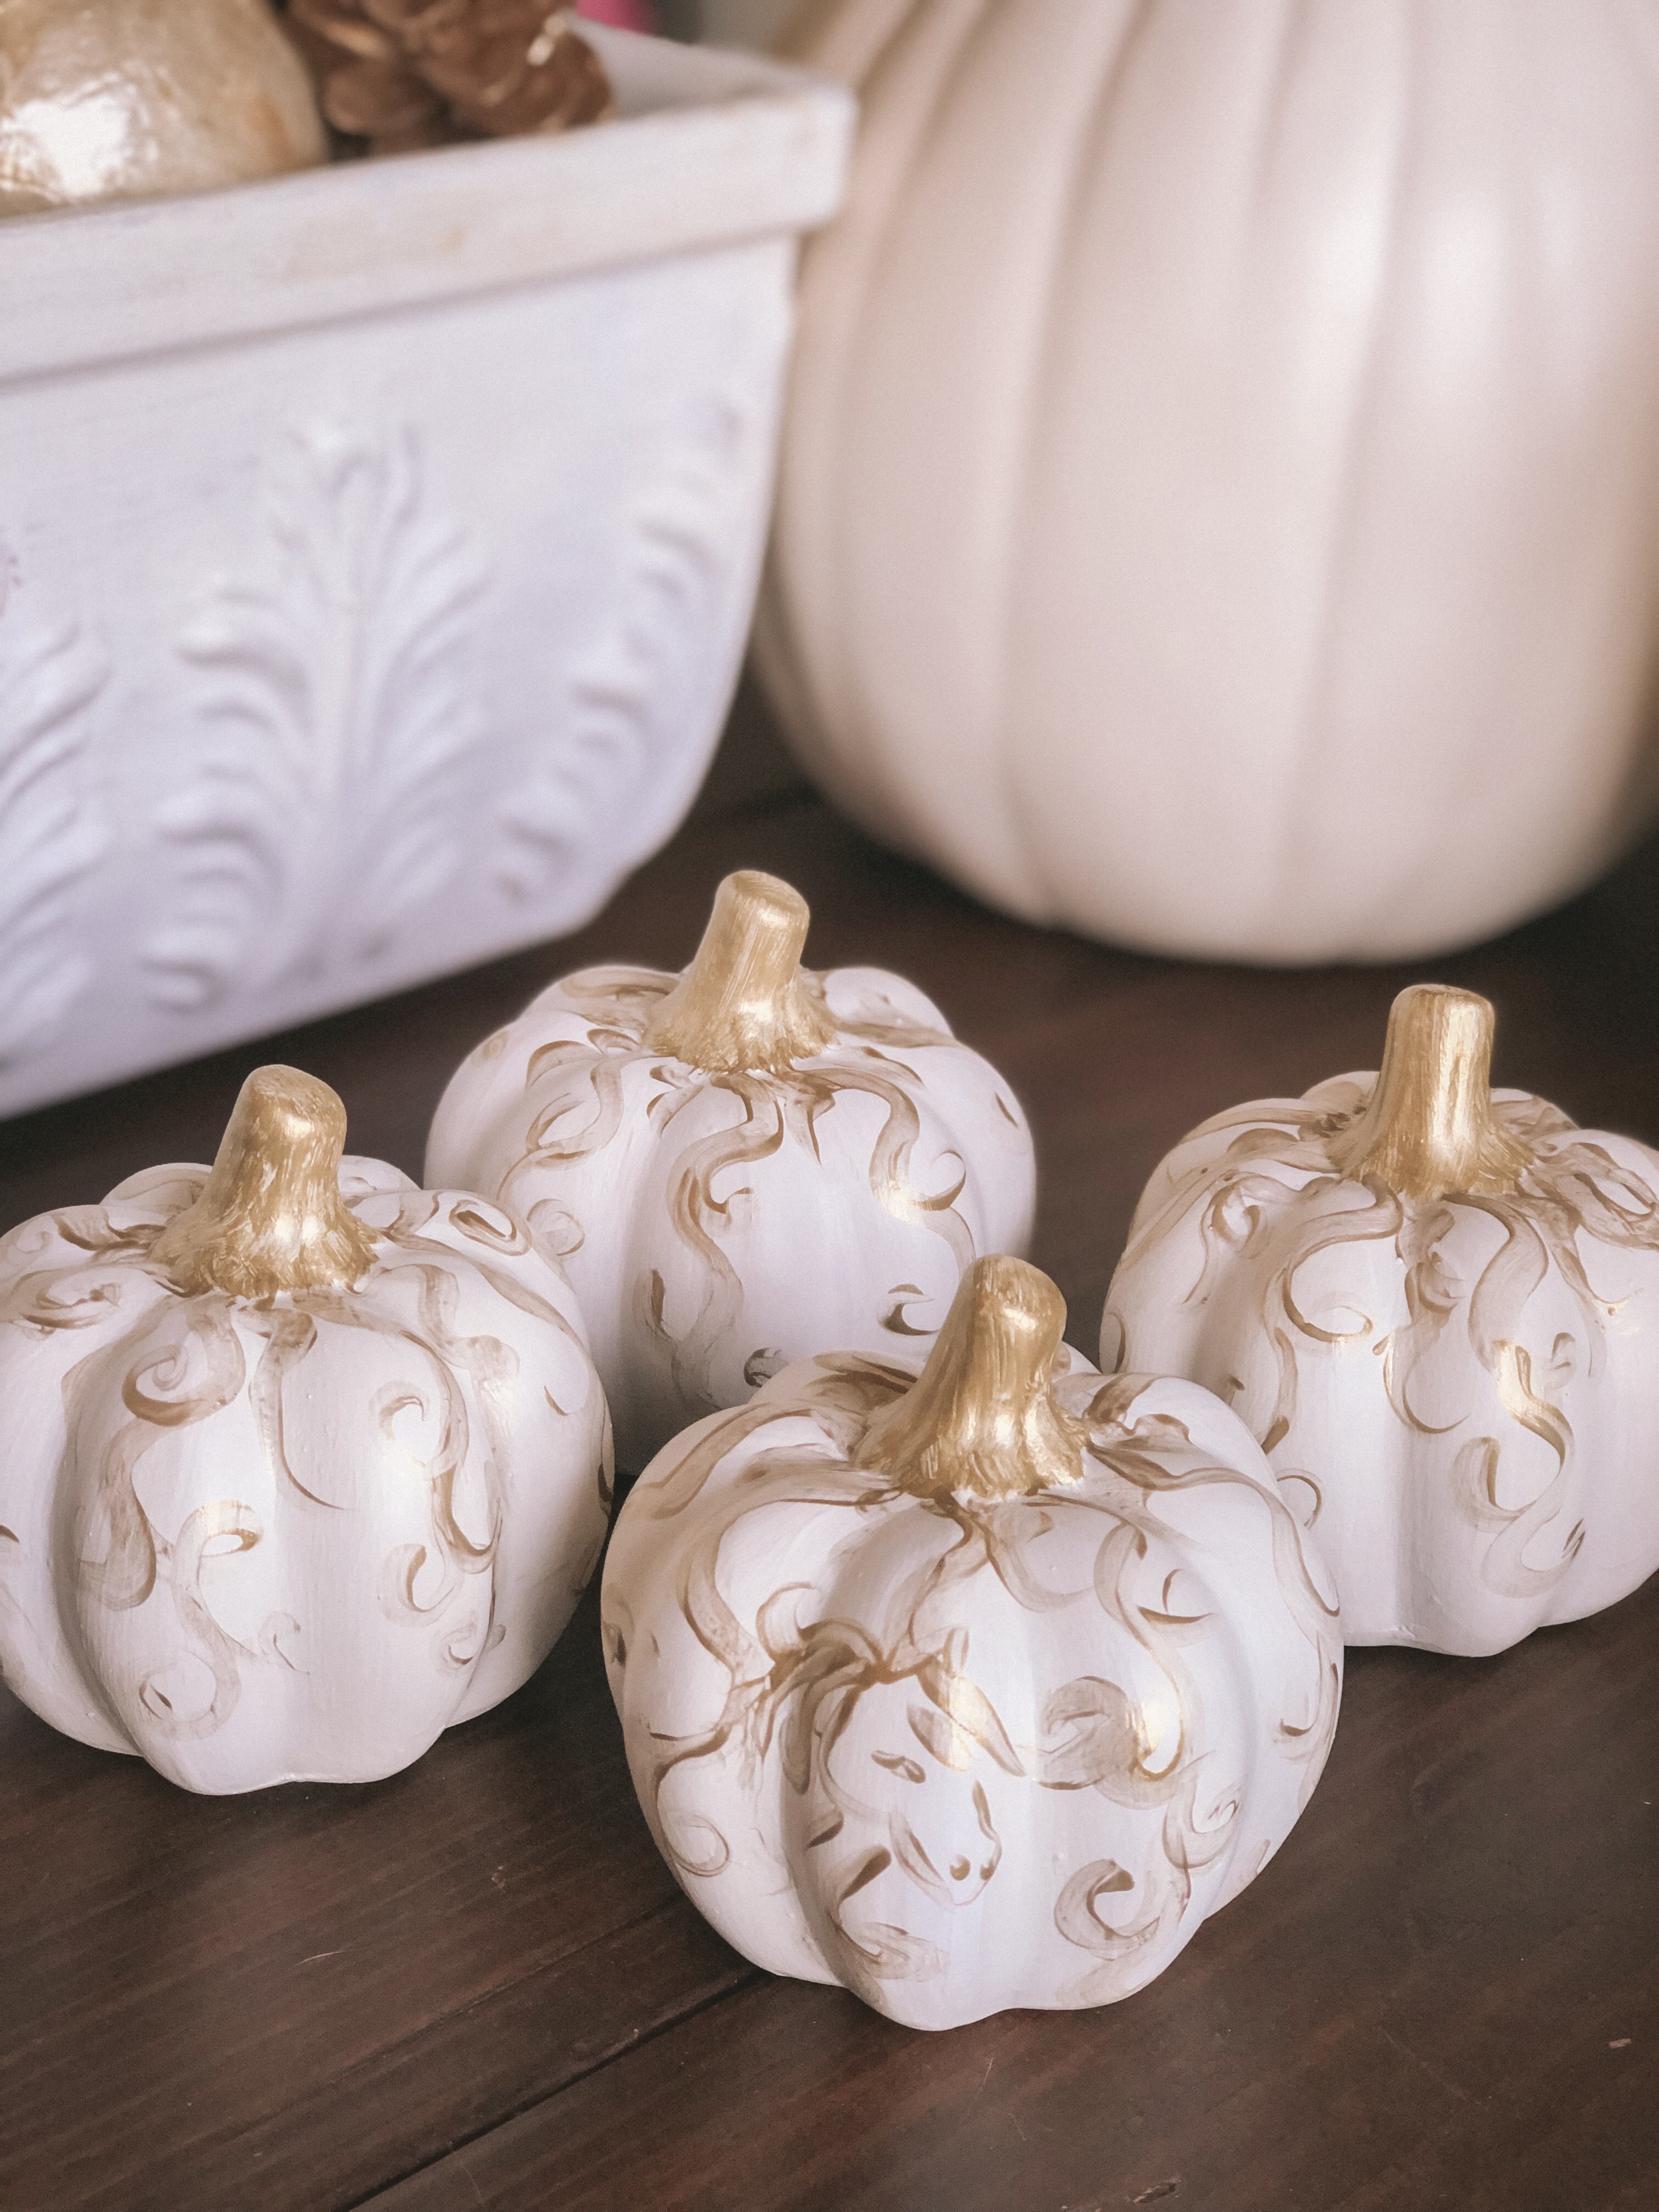
these actually were black and white clay pumpkins from the dollar tree. anyway, i literally can’t stop until i’ve covered things in white and gold. see the hidden horsey? i don’t know. i don’t know what comes over me!
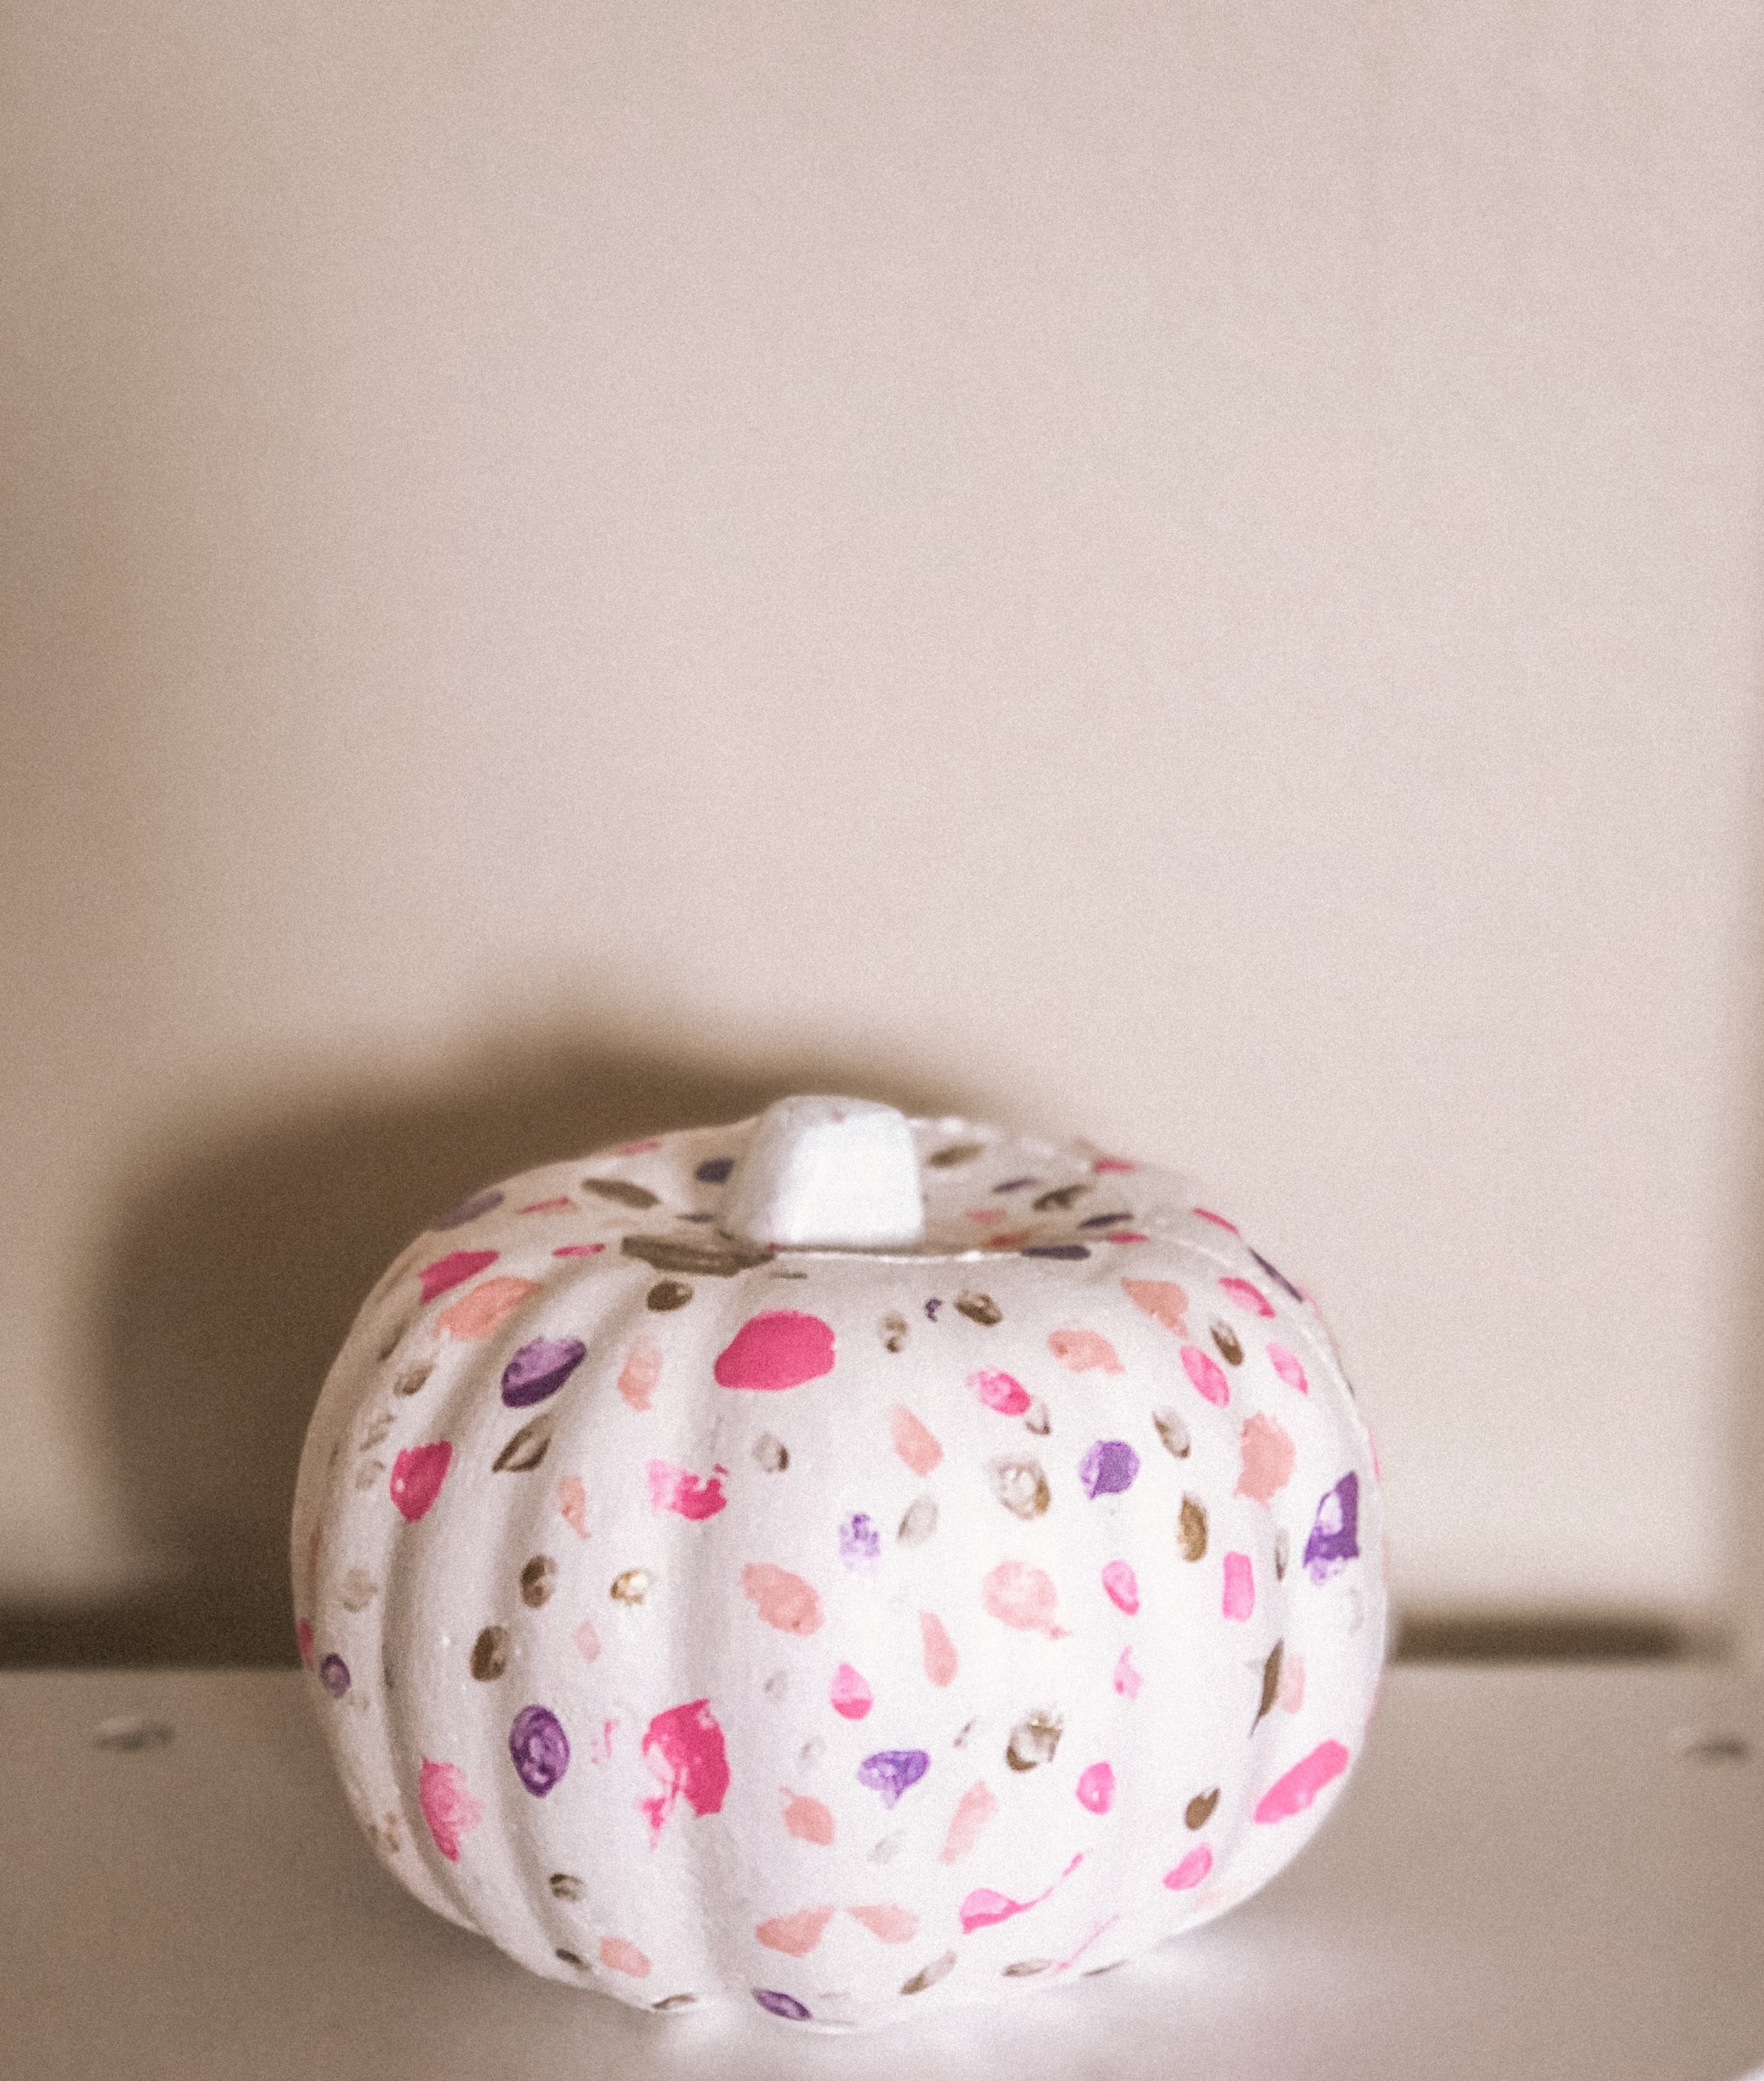
maddalena painted this one for our sweet neighbor!!! i loved it so much, we accidentally kind of didn’t rush to give it to her, ha! it sat on display for a while!
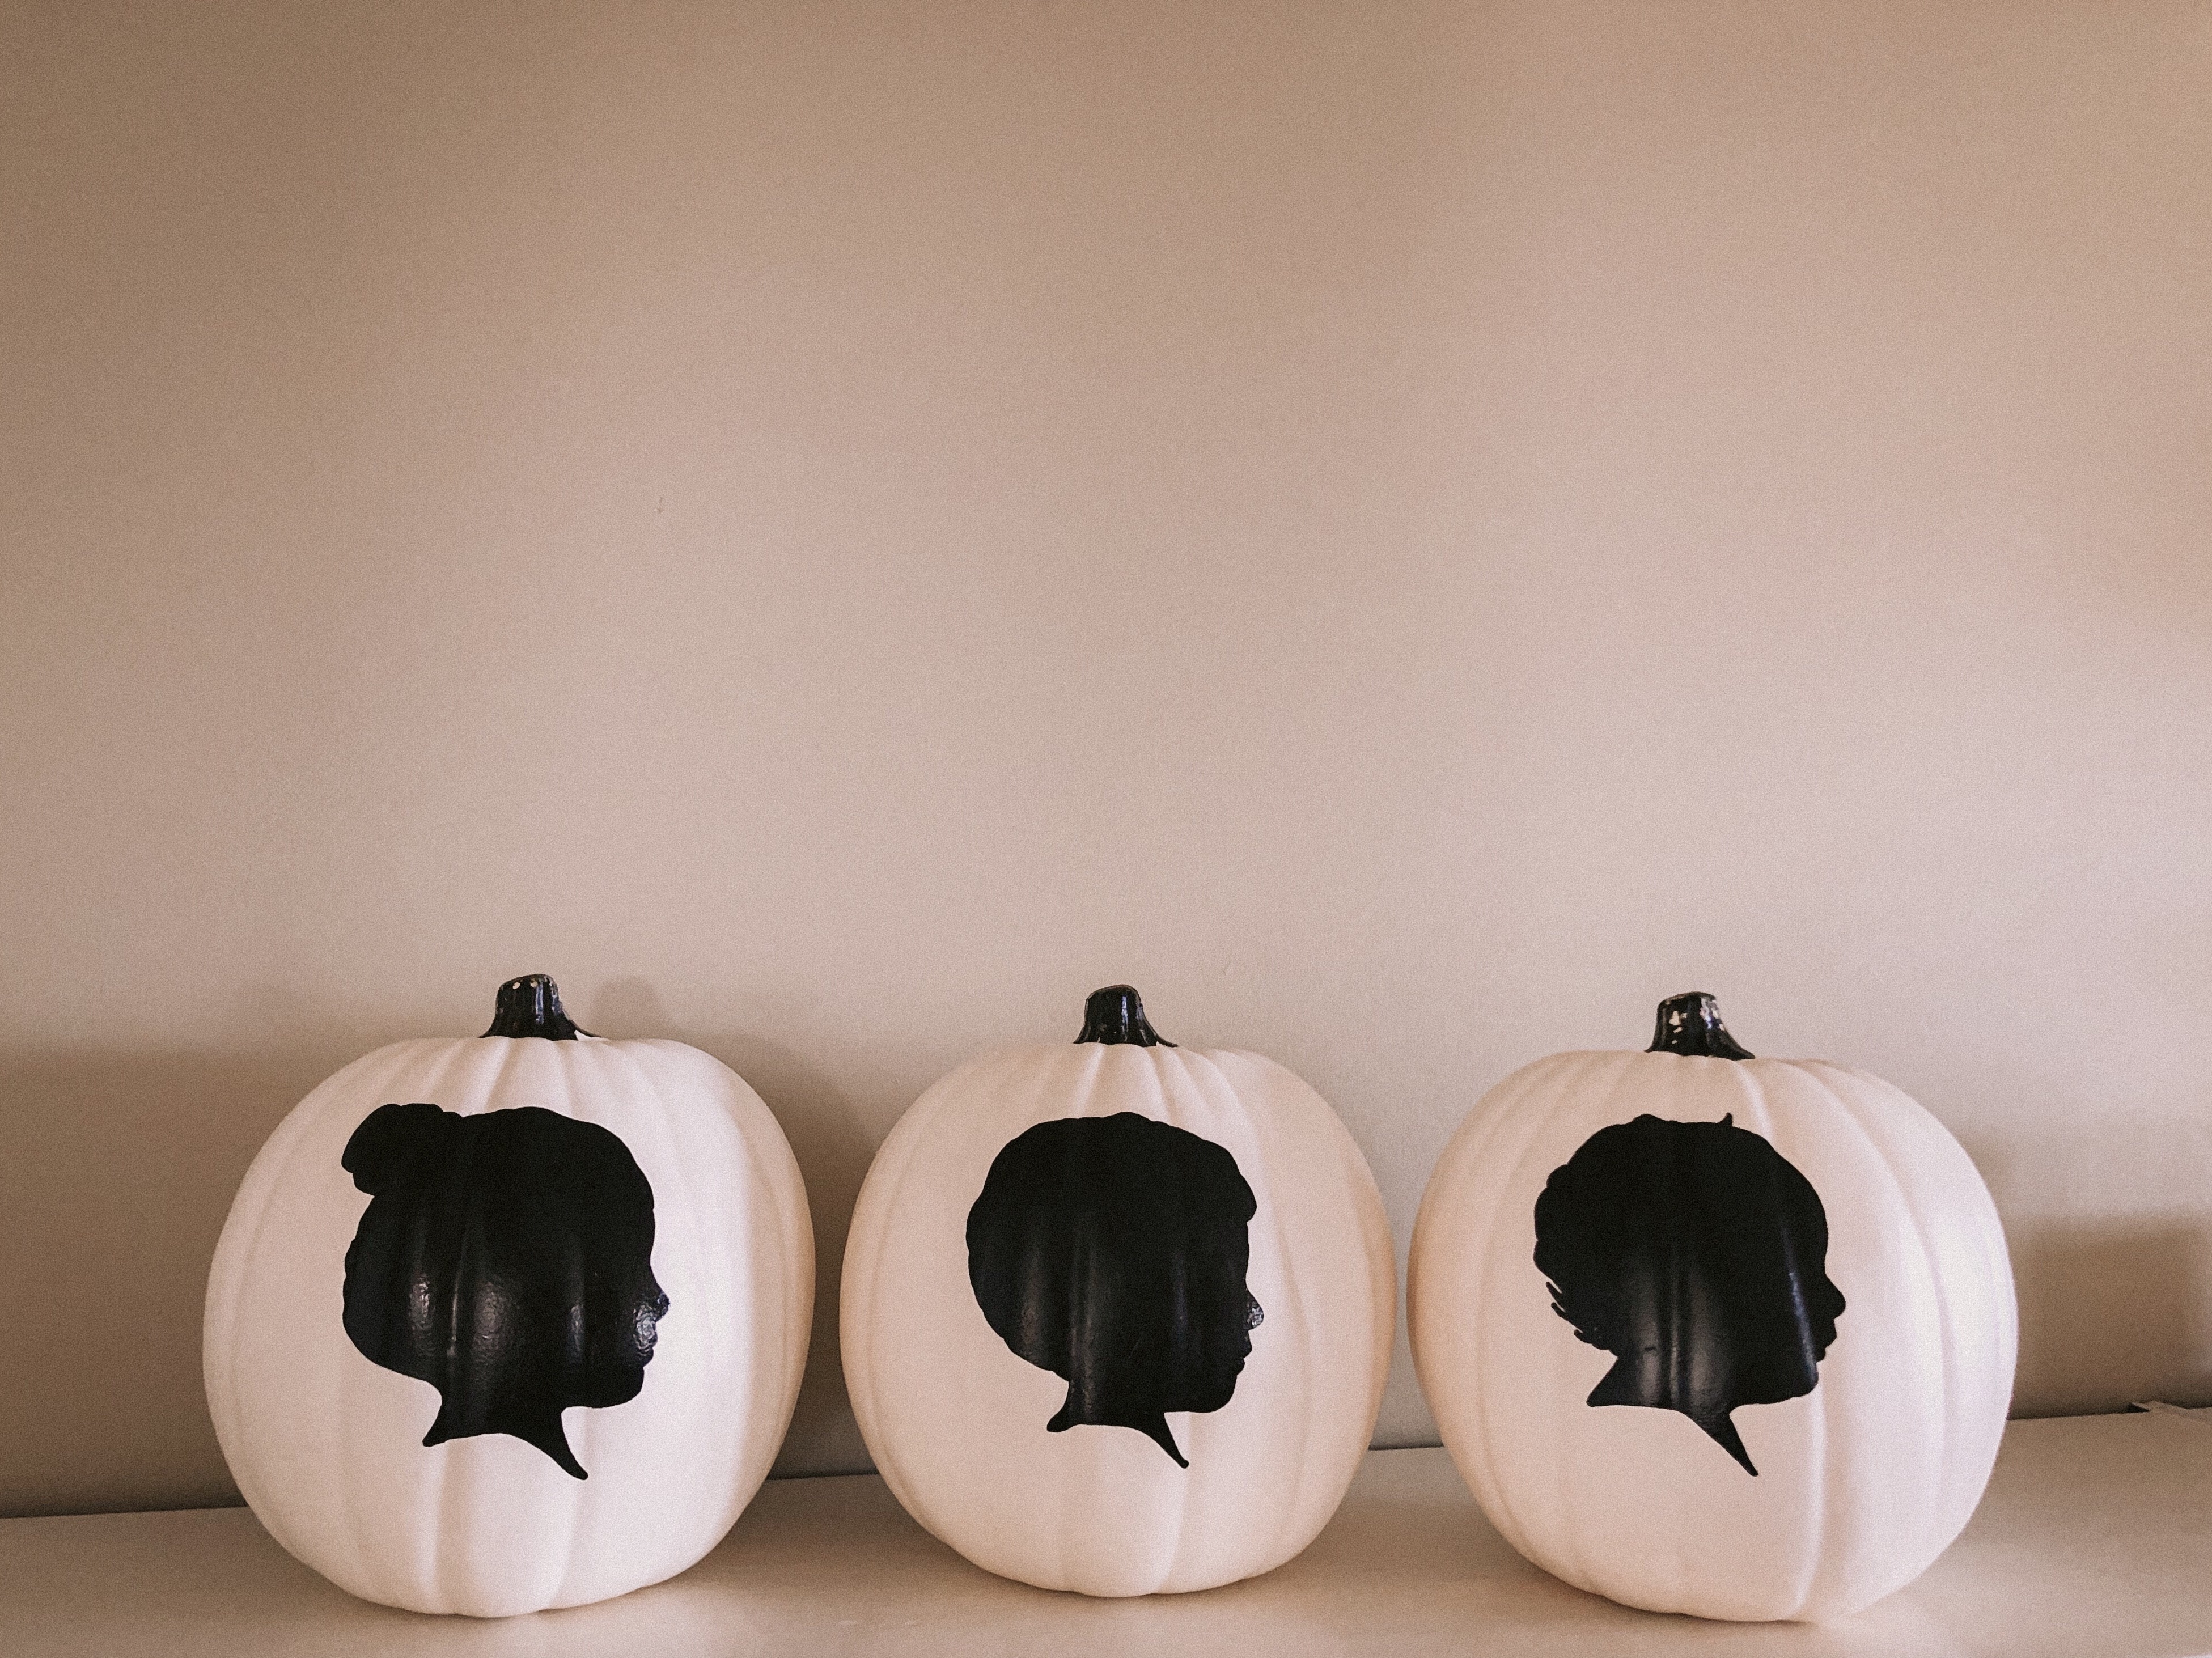
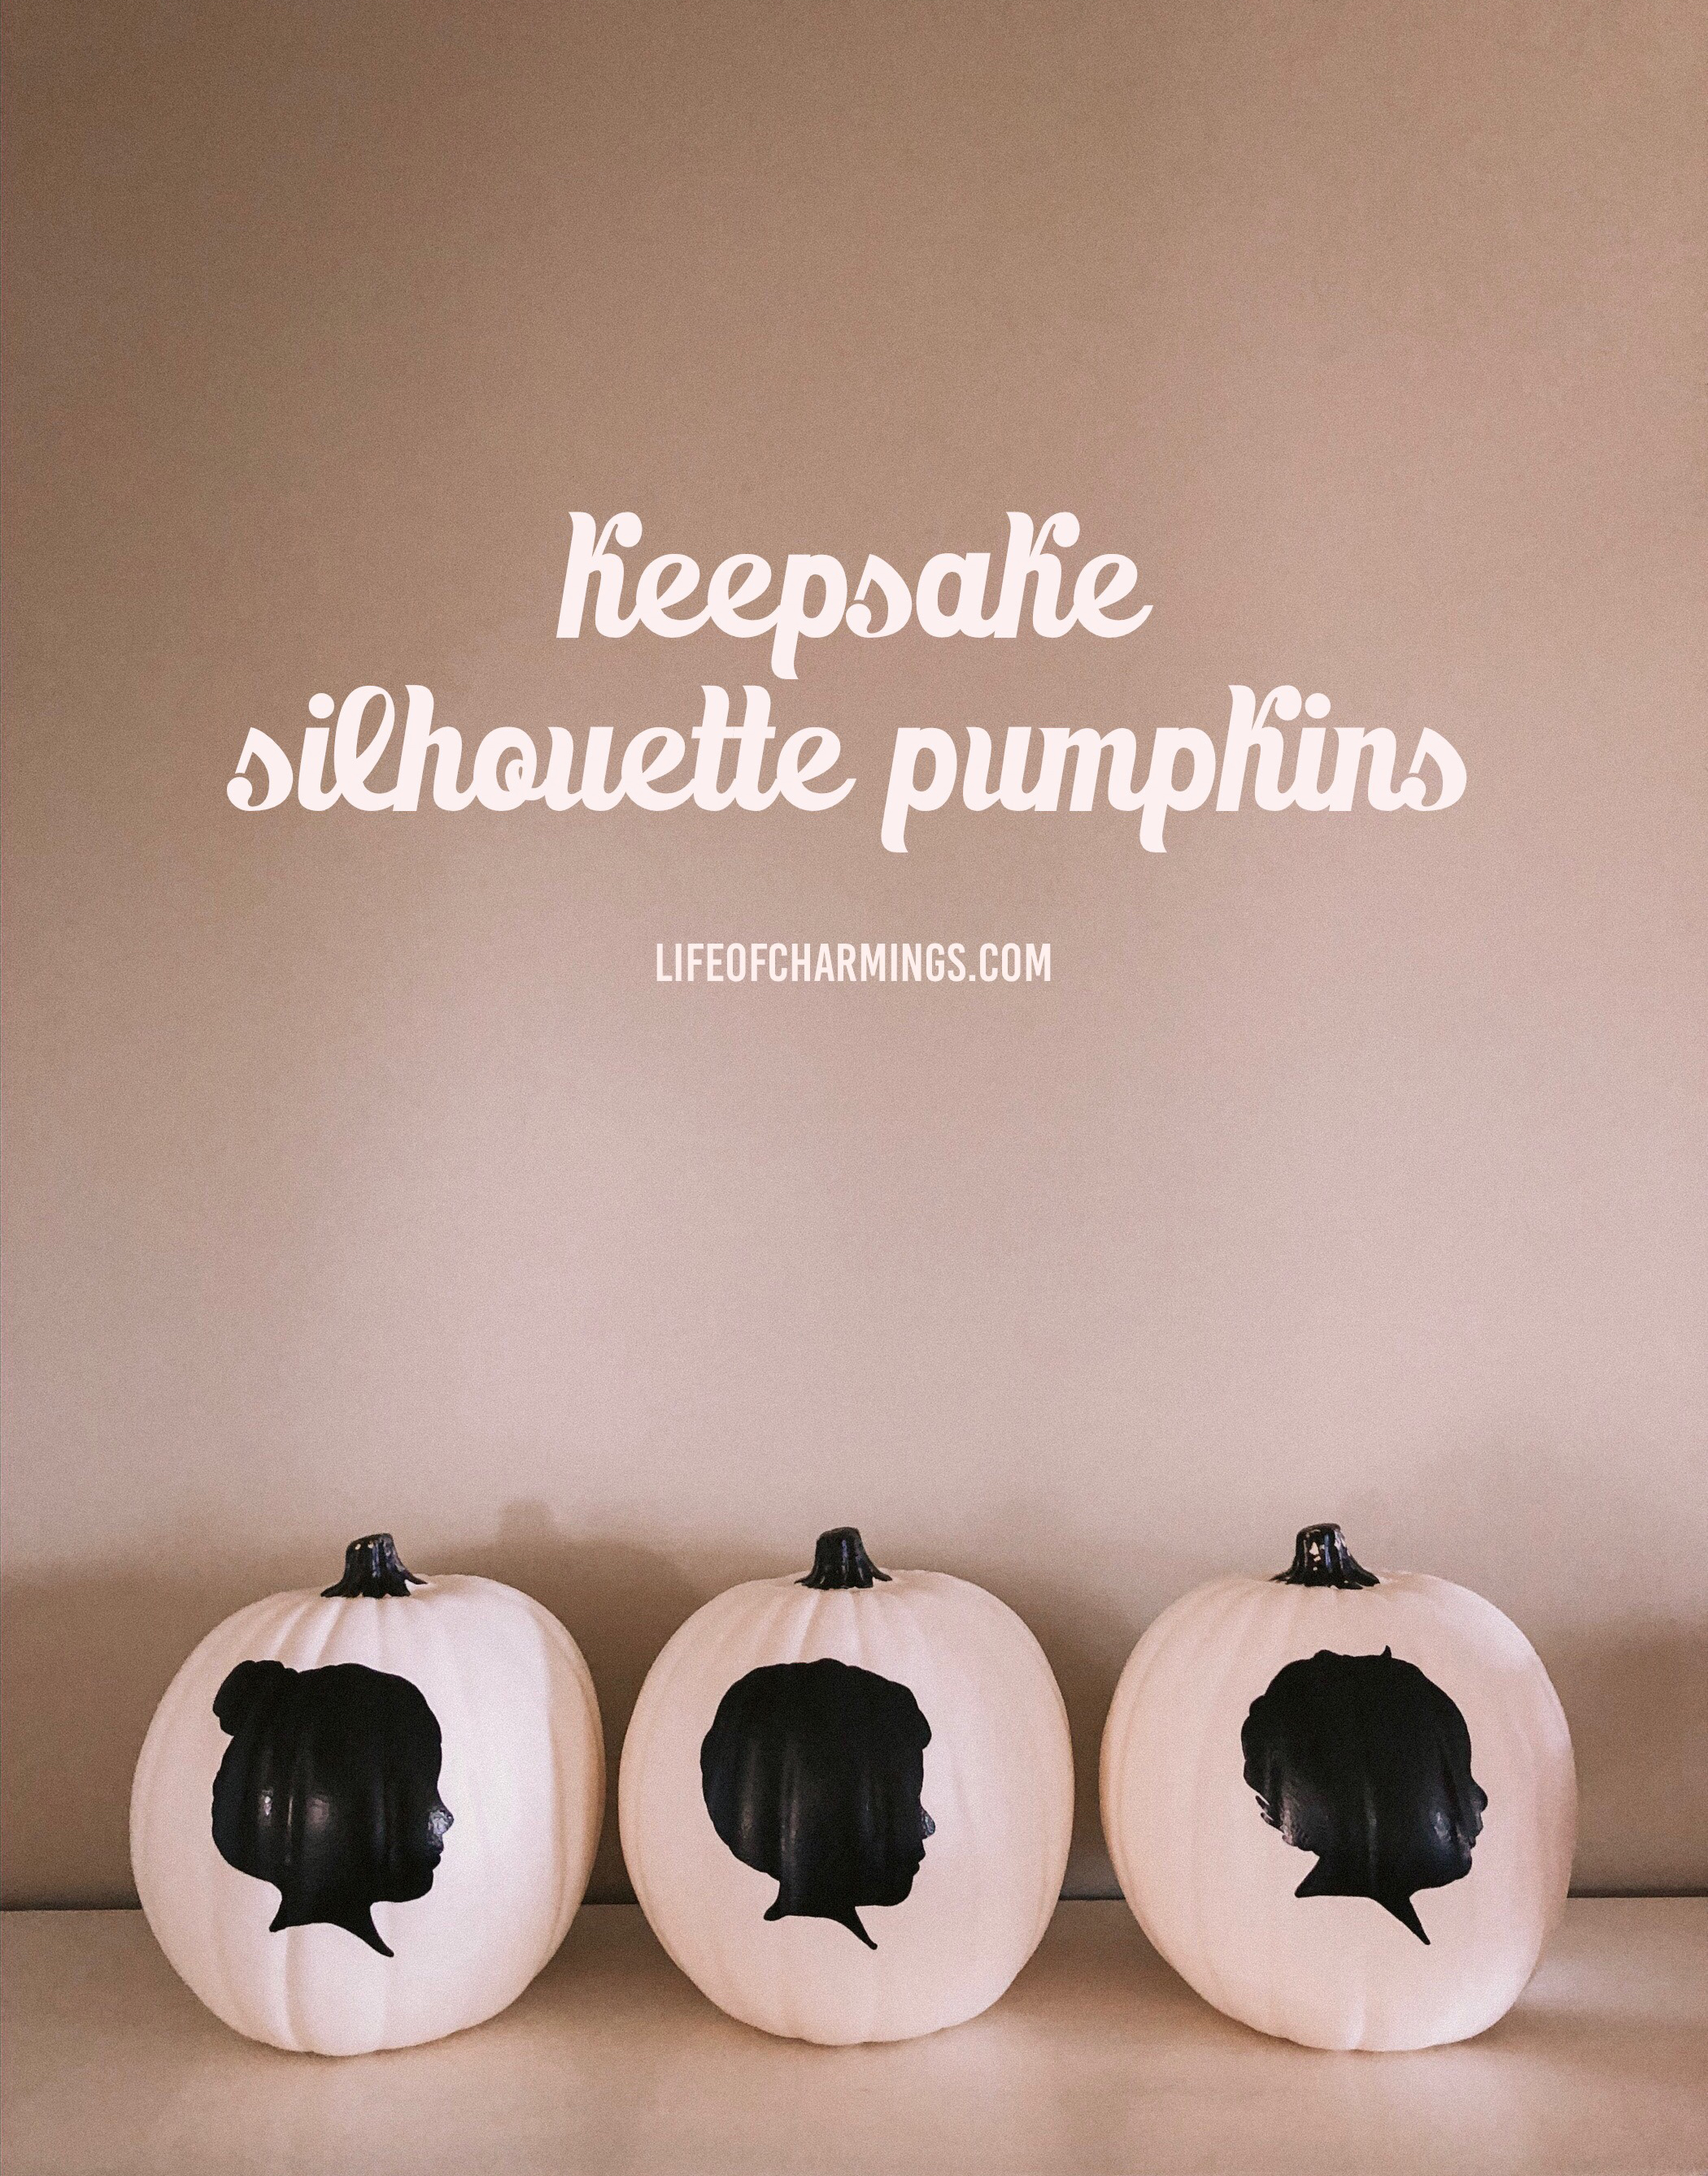
but my favorites, of course, are the ones i have wanted to do for soooo long!! silhouette pumpkins of my babes this time of year. i was afraid, however, that by the end of my attempts, i’d be huddled in a pile of disappointment. to my delight, they were SO EASY!! i thought i’d share just how simple indeed…
the pumpkins:
i made sure to snag some large white craft pumpkins from michaels way ahead of time this year, but here is a ceramic option that could work? and obviously… you could do this on anything!
the silhouette template:
if you ever get silhouettes professionally done for jewelry or prints or whatnot [i have prints from miss thistle shop, a necklace from le papier studio, and a necklace on order from jennifer driskell designs! which is why i took these latest profile shots!], so, you can either print the size you want and cut around the template, OR just quickly take and print out a profile shot of your child and cut right around it!
the paint:
i used paint pens! i have thinner ones and thicker ones and i used both. made it SO easy.
the process:
-print and cut out silhouettes in the size that you need
-tape silhouettes to pumpkin [sticking the tape on the underside of the paper] or whichever surface you’re using! you want to get it as flat as possible to trace around, so it’s okay if it wrinkles a bit.
-trace around the edge of the template slowly with a pencil so you can erase any mistakes
-i chose you trace over that line with a fine tipped sharpie before filling in with paint pens, but i’m not sure how necessary that was! you can start filling in around the edges with your paint pens! then fill in the center and let it dry.
aaand voila!!
i honestly couldn’t believe this project that i’d been dreaming of actually wasn’t a disaster, like… at all. now, i’ll get to pull these out every year and gaze at the sweetest little fall 2019 profiles there ever were!!
xoxoxo
You already know that I love these so very much! They turned out great!!