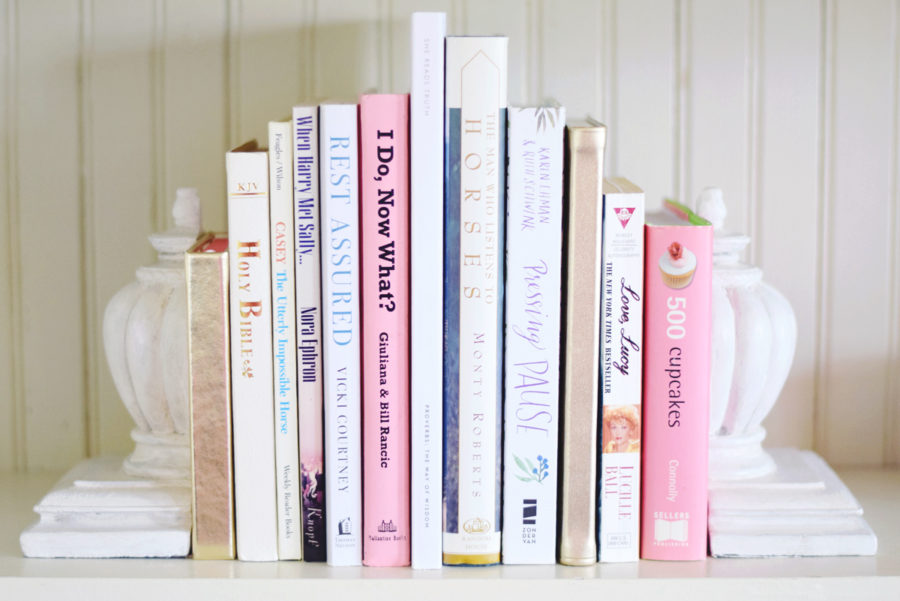
sooooo, i’ve had these bookends for years now that were really dark colored to go with our darker furniture. i’ve always thought they were so pretty and classic looking, like old corbels, you know? but fast forward to our current life with white bookshelves [yay!] and oh, i’ve always just loved a good shabby, soft, aged white… so, these bookends have just been too dark and manly for me lately!
truthfully, i’ve been in the market for some pretty bookends, and oooh i’ve had my eye on some… like marbley horseheads! and oh, gilded white geodes, please! but as of lately, i keep thinking… just when does one just go around buying bookends? of all the things that need to be purchased!
anyway, i’ve been playing around with the one-step paint i have by amy howard, along with the waxes and the *dust of ages* [which is totally what initially sold me on that line of stuff. dust of ages?! brilliant!], and seeing as i’m kind of addicted to this process, i though i might as well give it a shot on these ole bookends!
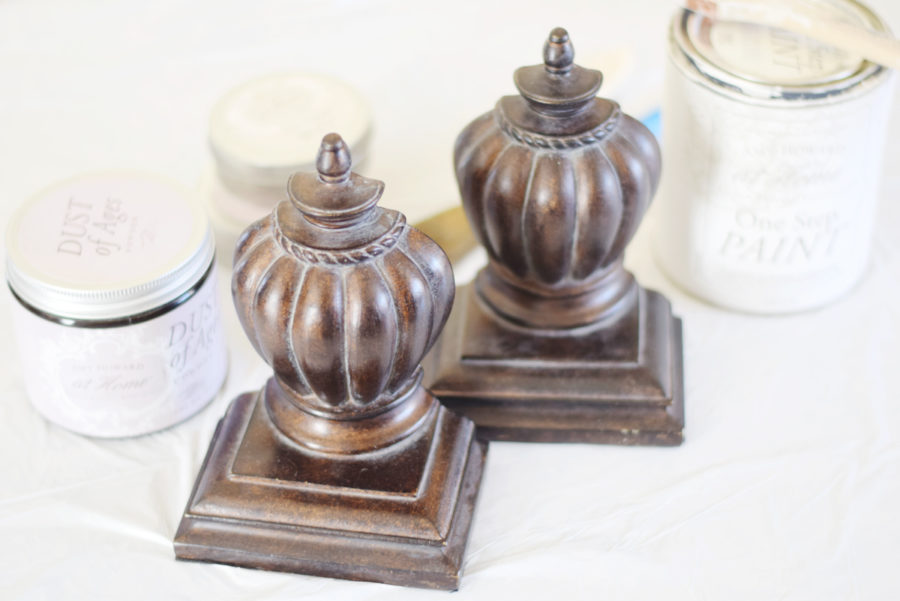
this process is definitely best used on something with lots of detail and little cracks and crevices… although, i have done it on a really plain photo frame, and i like the way it turned out! just kind of a rustic, shabby white. but! i still say it’s best on something with detail because then it takes on that old plastery look. you can do this on furniture, too, which is what i started with – however!!! i lost steam after the first wax, so i am sticking to little things. 🙂
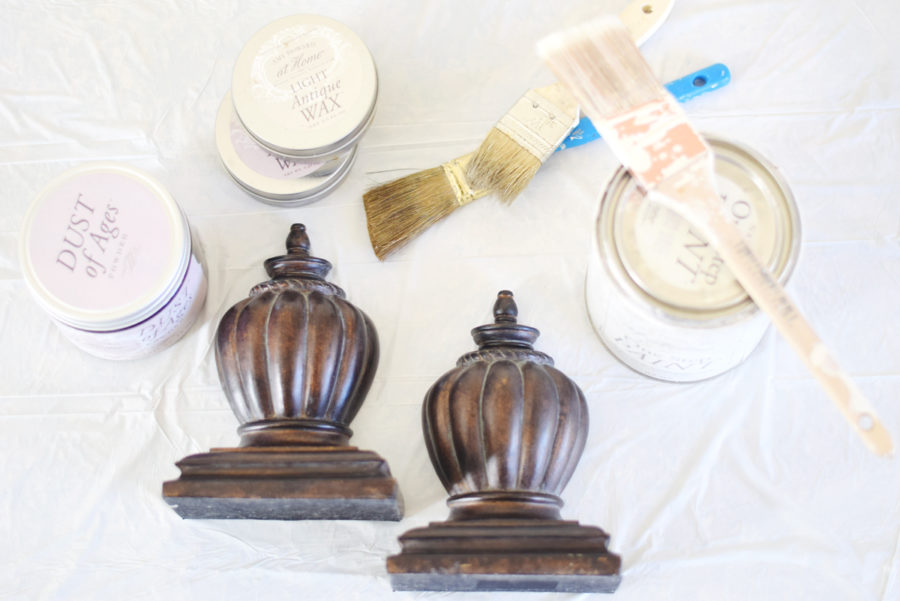
you need! chalk paint [i have amy howard’s bauhaus buff, but i’m sure you can use your favorite chalk paint] // light antique wax // dark antique wax // dust of ages // paint brushes // rag to buff with
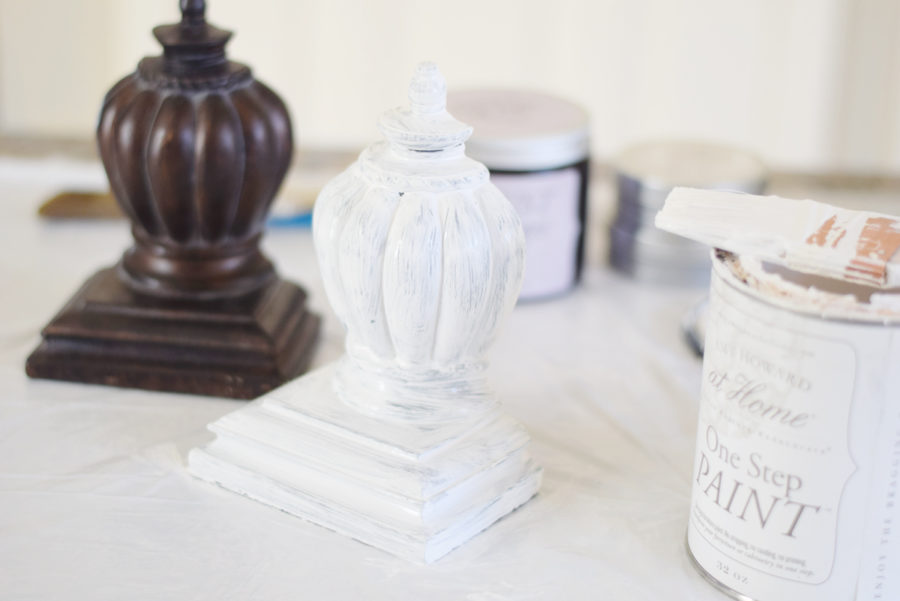
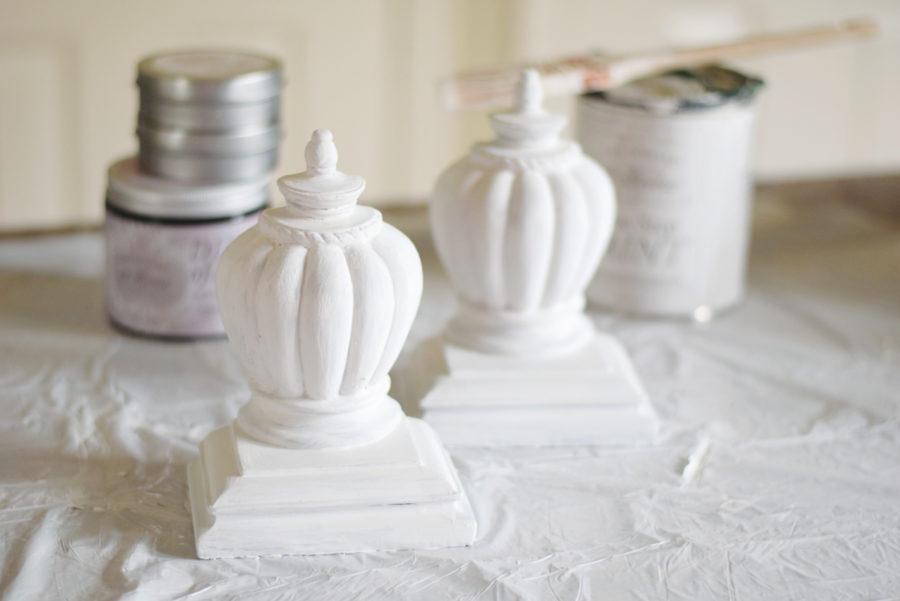
step 1: PAINT! i did three coats here. i could’ve done a fourth for perfect coverage, but perfect isn’t what i’m going for. i like some of the dark showing through just a little.
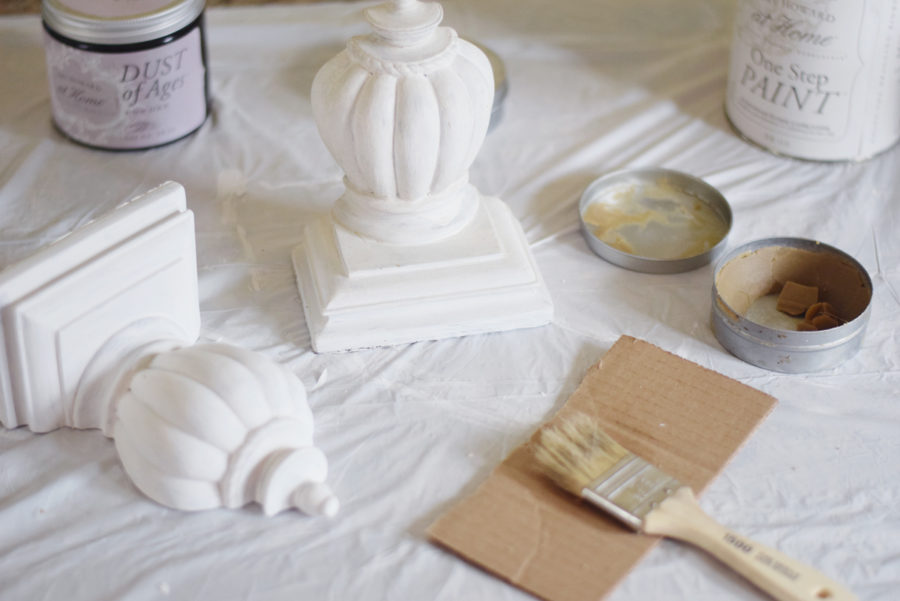
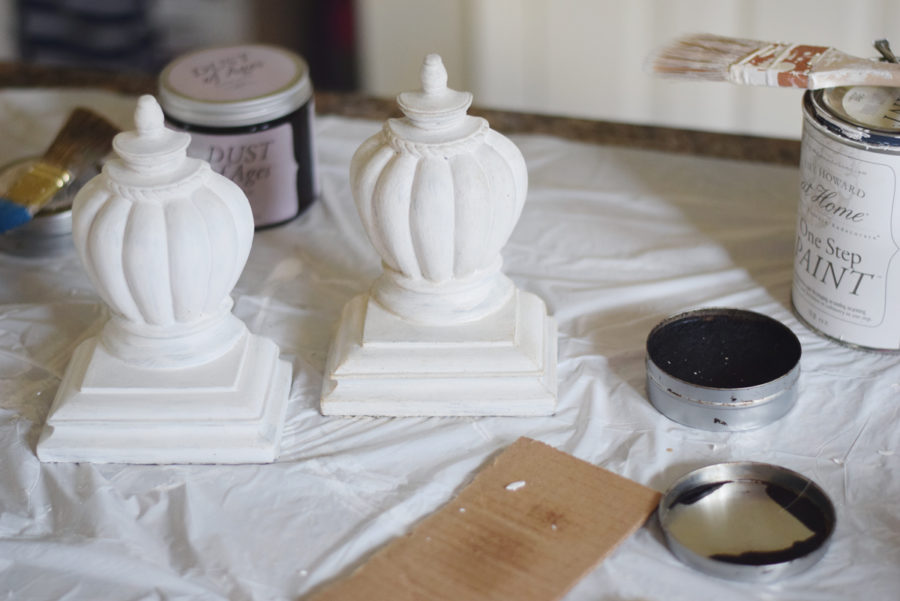
step 2: WAX! start with the light antique wax. now, the tutorials on the product’s site would have you thinking the wax was soft, but i have two little canisters of the light wax and it is solid like a bar of soap. so. that’s all i know! anyway, they say you should never go straight from wax to the project, you’re supposed to “offload” your brush onto a piece of cardboard so you don’t get too much at once going. it’s hard to get the wax to cure and not be gummy if you get too much on there. you want to just get a full, light coating of wax. pay special attention to the little cracks where you’ll want the dust to stick! wait 15 minutes, and then apply an even lighter amount of the dark wax. you don’t want this to go everywhere, just some places to look a little bit worn and add some depth. let that dry for 15 minutes.
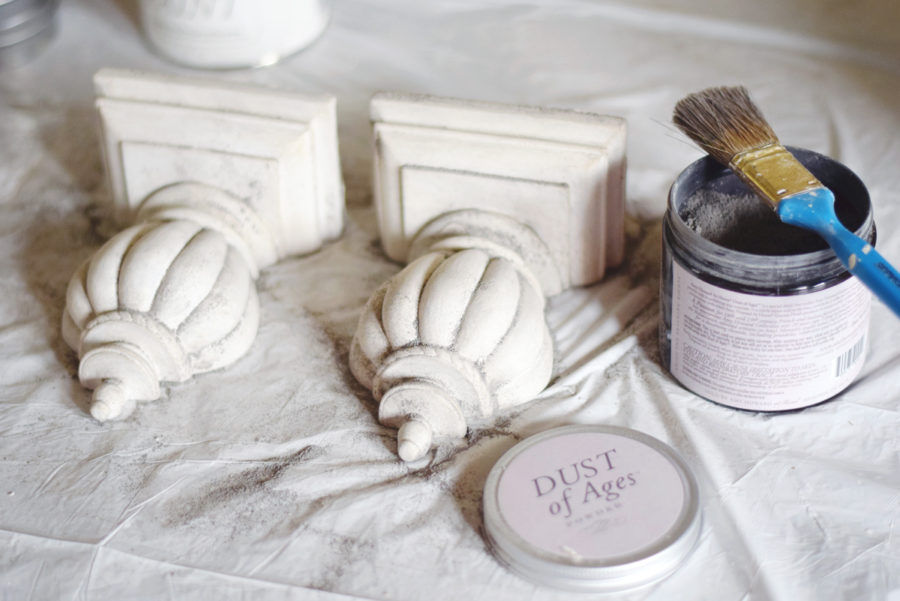
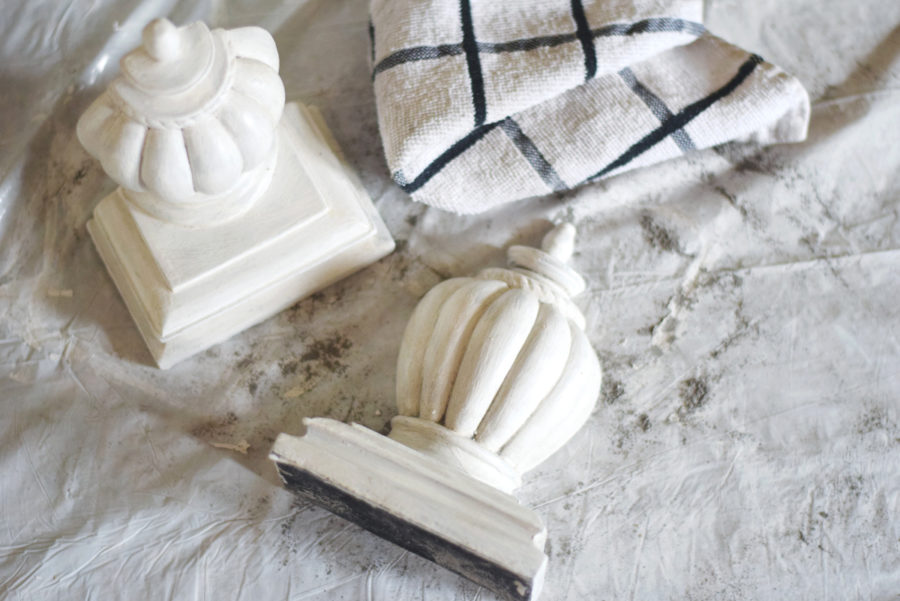
step 3: DUST! cover with dust, making sure to pat it into the details and crevices. honestly, i really wish i’d gotten a little more wax into the cracks here so that more dust would settle and stick. anyway… to finish off, just buff all over with a clean rag to get a nice, polished sheen!!
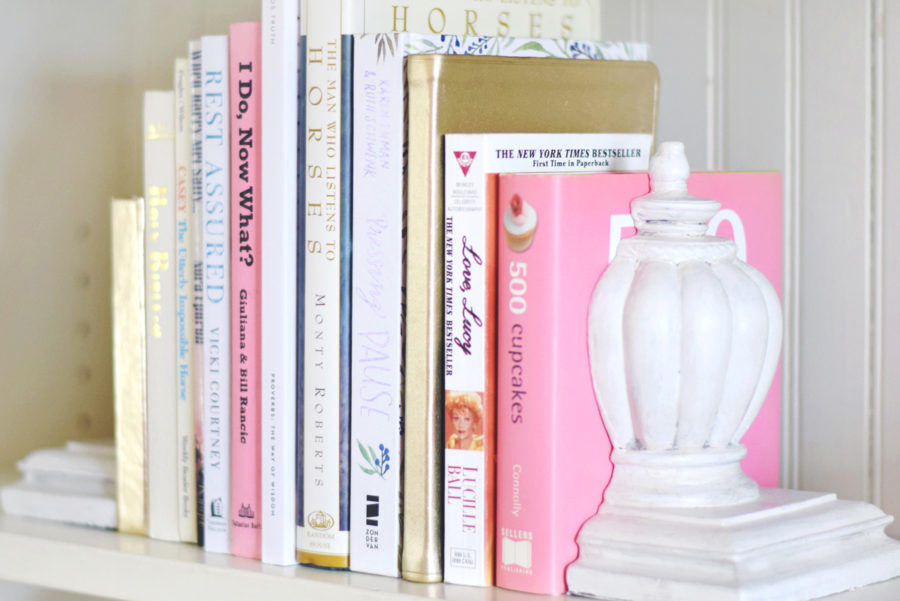
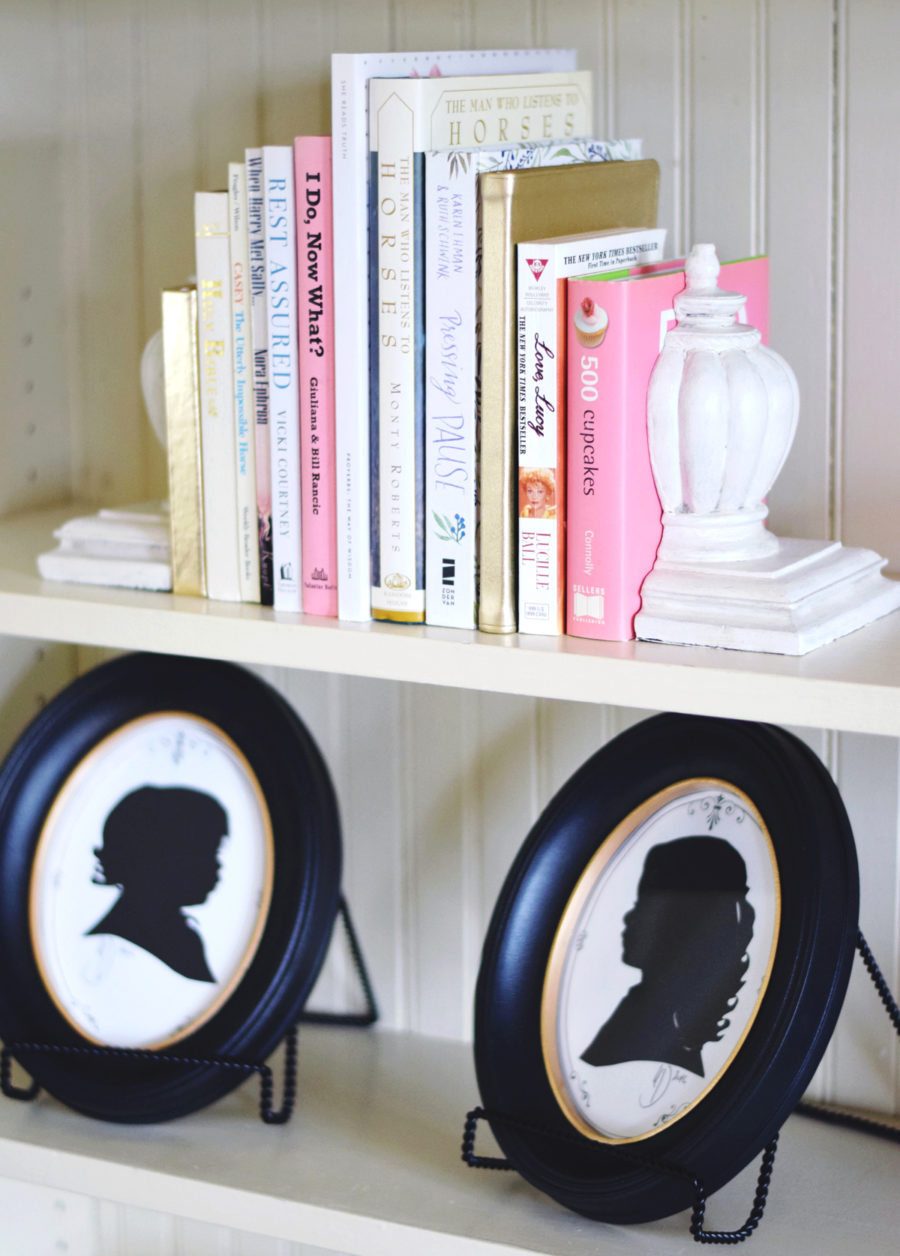
Ohhhh you know I’m such a fan of lightening up dark things lately! I had never heard of this dust of ages! Wow wow wow! They turned out so great!!! Well done you! Dust all the (little) things!!
right?! the dust of ages just feels so right!
I was fascinated by your instastory with this magical dust the other day, which prompted me to get lost in a dust of ages Amy Howard tutorial for a good 10 minutes! lol So so cool! You and Laurie inspire me to try more DIY stuff, but since as you know we are on the edge of the moving train I’m trying to hold off until we are settled for realz but this all looks so pretty and fun!
her tutorials are amazing!!! she really does gorgeous things. i keep practicing but then i see her stuff and i’m like HOW did she do that!